...
| Expand | ||
|---|---|---|
| ||
Login to the appropriate paper administration (i.e. STAAR Alt 2 Paper Orders) in TIDE. 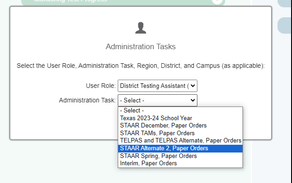 Choose order history. 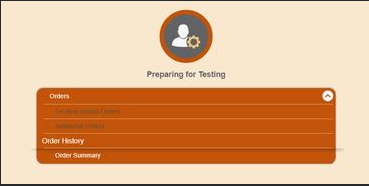 Select reports. 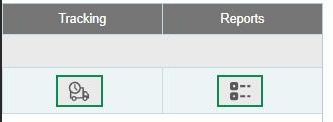 Select the dropdown for track documents and select security checklist. 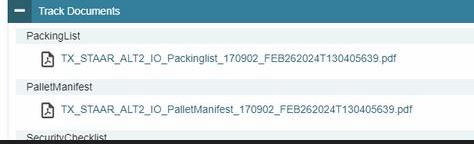 You may consider saving a copy of the file so that you have an unopened copy. Then split the materials checklist between EOC and 3-8. Be sure to preserve any leading zeros. It is good practice to start with a clean file and paste from the original. Be sure to save as a .csv and then you can upload it into TestHound. |
| Expand | ||
|---|---|---|
| ||
Selecting Materials > Inventory from the district menu will allow you to see the secure test booklet types and barcode ranges within a test administration after they have been uploaded. After selecting Materials > Inventory, you will be prompted to choose a Test Administration from the Select Admin drop-down menu. 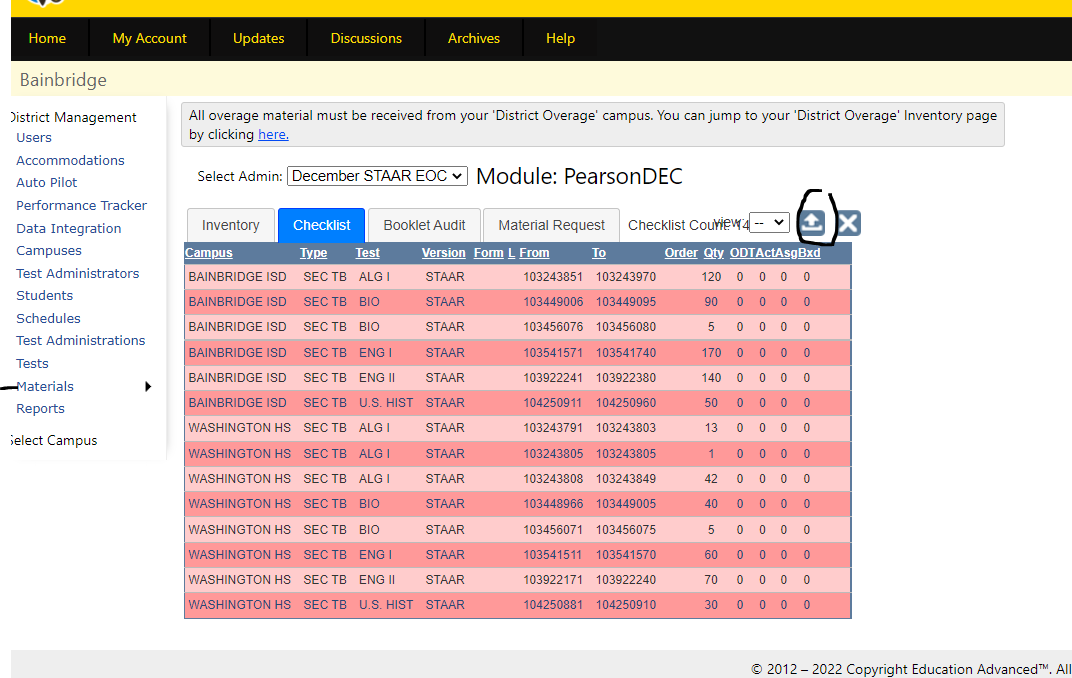 The materials will be listed by the entity, i.e., district overage, and each campus. If the number of booklets scanned matches the amount indicated by the testing vendor, the table entries would be uncolored. If the secure material has not been scanned, the records will be colored pink. Inventory file availability depends solely on the publisher. Depending on the publisher, your inventory checklist:
Directions for uploading your districts district's Inventory Checklist for STAAR and STAAR Alt 2: You will need to receive a copy of your inventory file checklist directly from your testing vendor. Once you have the file, you’ll be able to upload it under District Management > Materials > Inventory.
If the vendor's checklist is listed by individual booklets rather than packets, i.e. STAAR ALT 2 you will be unable to scan in a range of booklets at once. Simply scan the bar code of each book in the kit (or cover sheet if applicable) (you will need to scan it 2 times to account for the beginning and end range) and move to the next booklet. |
| Expand | ||
|---|---|---|
| ||
To manage materials for District Overage, select the campus titled District Overage from the Campus drop-down menu on the right-hand side of the screen. If you do not see this menu, click Home, and it should appear. The overage campus is for the DTC to manage the extra overage supply of booklets for the district. These can be transferred to campuses as needed to fill shortages. Campuses will scan their own assigned materials at their own campus. 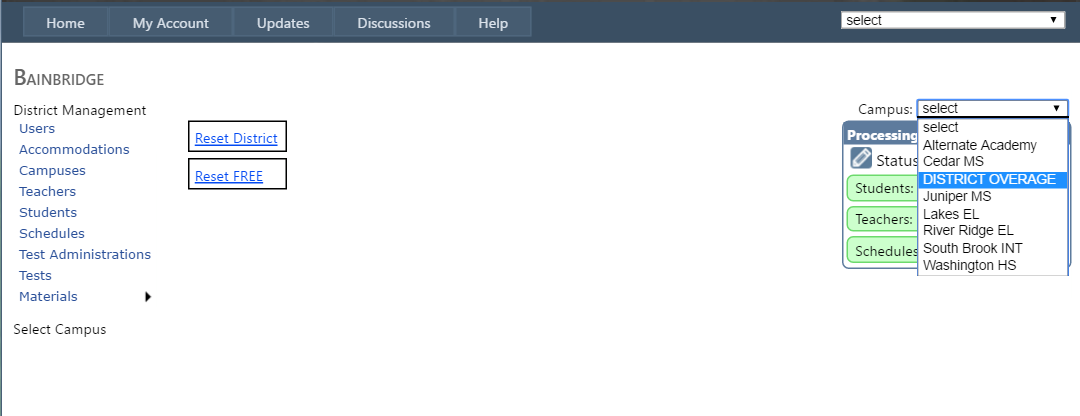 The Materials section of TestHound incorporates several different areas of materials management identified below. You will scan your overage books into your inventory, transfer books as needed to your campuses and other districts, and create boxes to scan your overage materials back in as well as prepare district boxes for shipping back to the vendor. 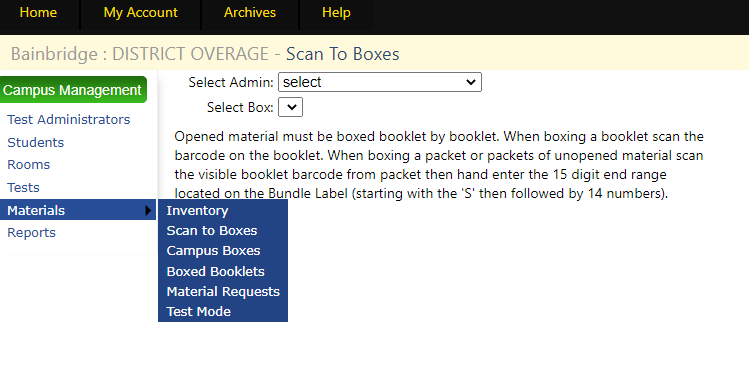 |
| Expand | ||
|---|---|---|
| ||
When you select Materials > Inventory, you will be prompted to choose a test administration from the Select Admin drop-down menu.  After selecting a test administration, the Inventory table will be displayed: 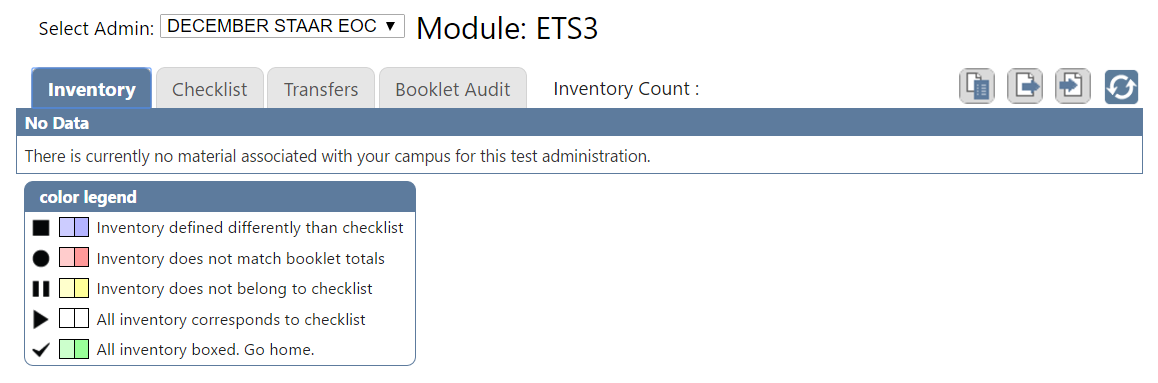 Explanation of tabs:
This table lists the test materials assigned to your campus by the testing vendor. The table identifies:
Selecting Materials > Inventory will allow you to:
|
| Expand | ||
|---|---|---|
| ||
Before scanning in your test materials, be sure that you have unpacked your boxes of secure test materials and placed the packets of materials in numerical order by grade level or subject, depending on the organization of the exams or publisher checklist. To begin scanning, you will first need to select the test administration from the Select Admin drop-down for the secure test materials that you will be scanning in. After selecting the appropriate test administration, select Receive Material to begin scanning your materials.  TestHound allows you to scan incomplete test booklet ranges via scanning packets of materials. TestHound will alert you that you need to ensure that you have accounted for all packets in the sequence and that you have counted the spines of the test booklets to ensure that each packet contains the correct number of booklets before scanning. After selecting Receive Material, click in the Start Range field (shown below). 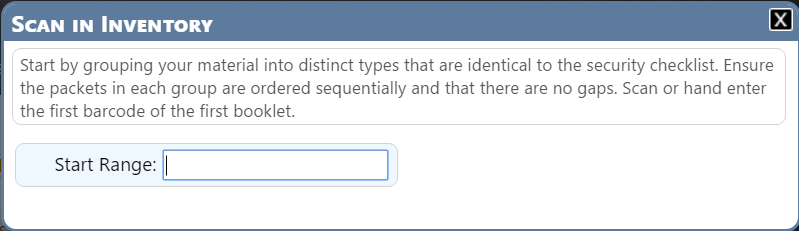
After submitting a line of inventory, a Confirmation message will appear detailing how many booklets you will be adding to your inventory. Before clicking Submit, be sure to verify the number against your packing sheet. 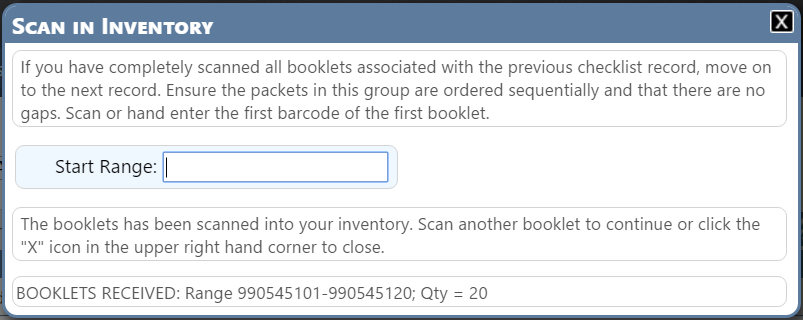 |
| Expand | ||
|---|---|---|
| ||
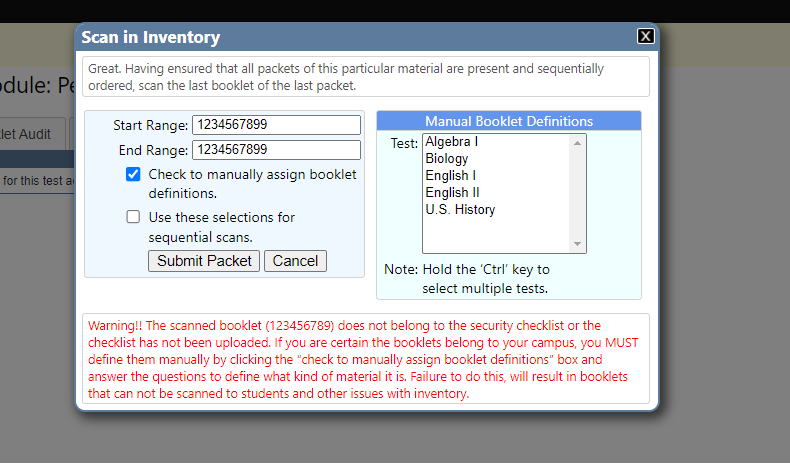
What do the colors mean? Here is a guide!  RECEIVING INVENTORY: Purple – Inventory is defined differently from the checklist. This could be due to a mistake in defining the inventory prior to getting the checklist. It could also occur because the checklist says you have a type (Alg. 1), but what you have on hand is a different type (US History). Purple does not mean you are necessarily wrong; it just means you should double-check the definitions. DO NOT SCAN THESE TO STUDENTS until you have verified everything is correct. Red – Inventory does not match booklet totals. This is usually due to not having scanned in all the booklets in a sequence, or having scanned in a large sequence where there is a break/gap and where the booklets are considered two separate sequences. DO NOT SCAN THESE TO STUDENTS until you have made corrections. Yellow – Inventory does not belong to the checklist. This could be because the vendor has multiple shipments, and you already have in hand something considered part of a separate shipment. No need to worry, just scan in the booklets and check with the vendor for a checklist update. OR you can define them now so they are ready to transfer to the campus as needed. This way you don’t have to wait for a new checklist to be uploaded and include your new booklets. When you scan a book that is not on the checklist, you will get a message to that effect. Choose the correct kind of books to define the packet(s). Books not on the checklist will appear yellow in inventory.
White – All inventory corresponds to the checklist. These are defined, correctly inventoried booklets that align with the checklist. They can be scanned for students immediately. Green – All inventory is boxed. Go home. TRANSFERRED MATERIALS: Red – Inventory does not match booklet totals because you have scanned them to another campus, and the receiving campus has not accepted the transferred material items yet. You are responsible for them until they have been received. Green – All booklets that were transferred have been inventoried by the receiving campus. They are the receiving campus's responsibility now and will have to be boxed at that location. |
...