This page will show campus administrators how to create local test administrations and the included tests for each administration.
| Expand | ||
|---|---|---|
| ||
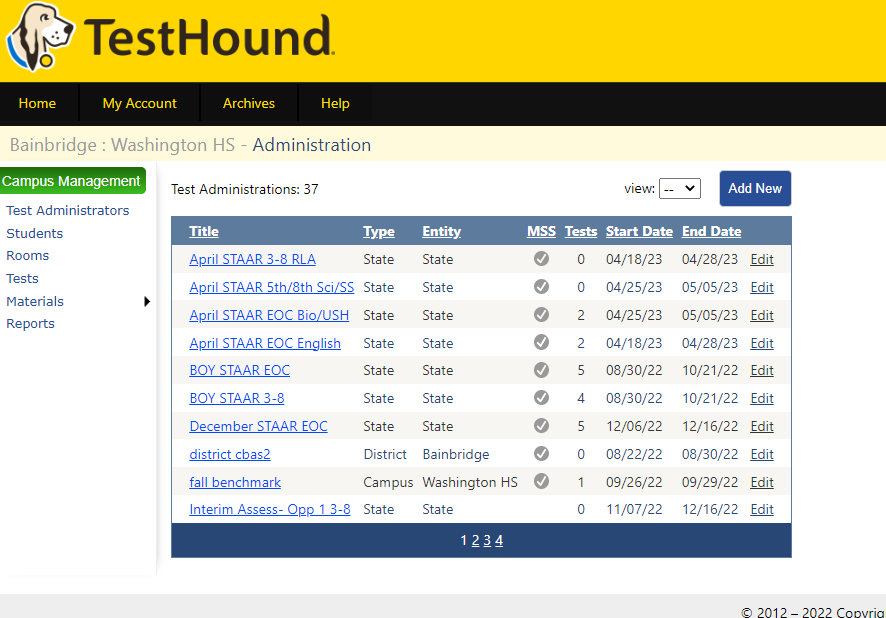
Selecting Tests will show a list of test administrations currently entered into TestHound. State test administrations will be loaded into TestHound for you. Test administrations that are mandated by your state will show as State under the Type column. If you click on a specific test administration entry, a new screen will open that displays the grade level and subject tests within that test administration (below). |
| Expand | ||
|---|---|---|
| ||
You have the ability to create additional test administrations for your campus. For instance, if you would like to use TestHound to plan a STAAR simulation for your campus, you can create that yourself. To create a new test administration and subsequent tests, first, click on Tests then click Add New in the top right of the table below.
This is a two-step process where first you create the test administration then the individual tests you wanted to be included in the administration. It is important to note a few best practices for creating Test Administrations: Do not mix course and grade tests. Designate each test the same way. Your administration titles should be more generic titles and more specific titles for tests. An elementary school may set up an administration with their campus name in campus name in the title and then follow with specific test titles. For example:
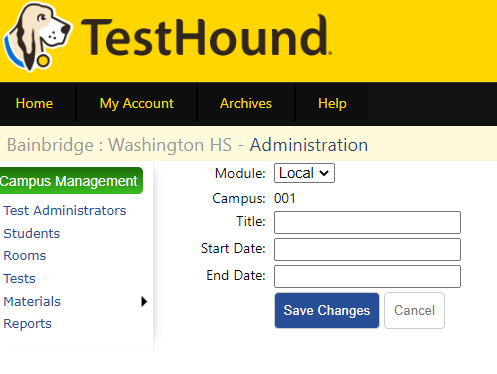
After clicking Add New, a screen will appear where you will be required to enter the following information:
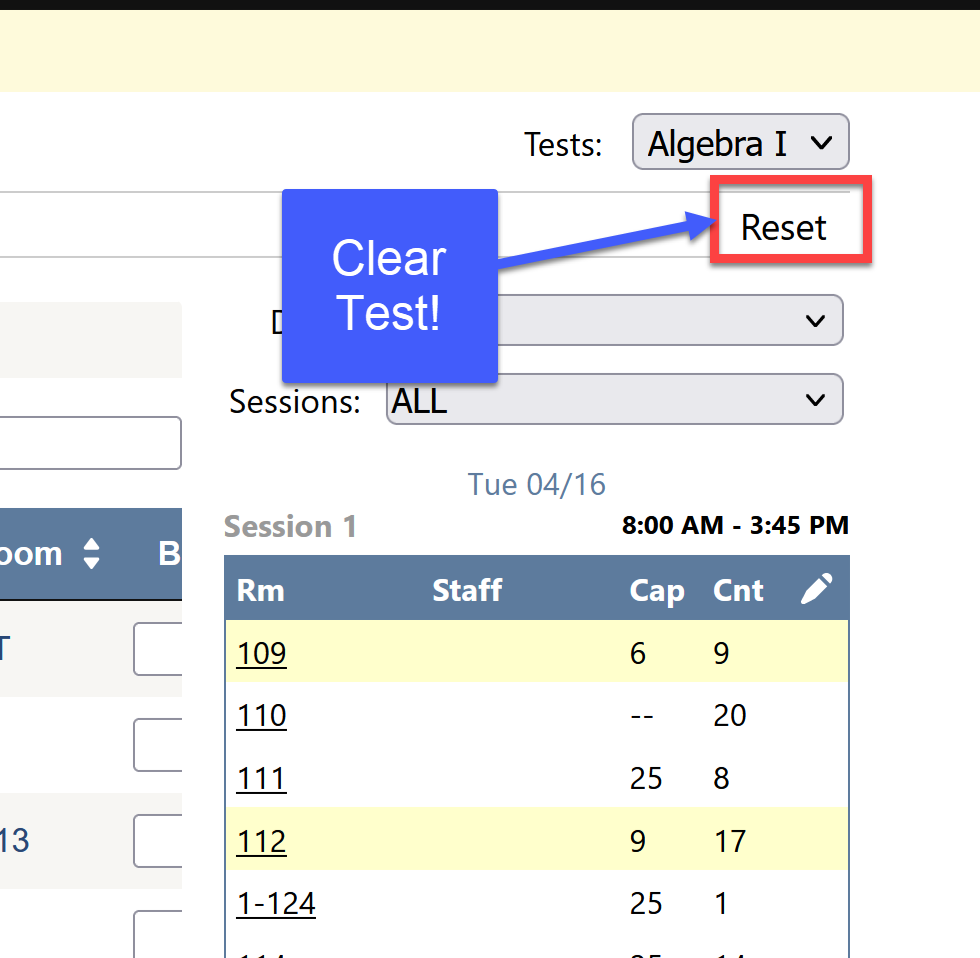
When you finish entering the required field, click Save Changes. The test administration you create will be specific to your campus only. BEFORE YOU ADD YOUR TESTS, CHECK THE DATES, IF YOU NEED TO CHANGE THEM, NOW IS THE BEST TIME TO DO THAT. IF YOU HAVE ALREADY ADDED TESTS, KIDS, ETC. YOU WILL NEED TO WORK BACKWARDS AND DELETE THE INFORMATION IN ORDER TO EDIT THE DATES OF THE ADMIN. Delete the student and room information in the test using the reset button. Delete the tests from the schedule, delete the sessions, and hit SAVE. Use “RESET” in each test to delete all information in all tests. Now, you can remove the tests from the configure schedule page. Highlight each day on the schedule, uncheck the tests for that day, and click save. Once the schedule is clear, you must delete your time session(s). Use the trash can and hit save when you are done. Now go back to the admin, and delete the tests in it. You can now edit the admin and change the dates. |
| Expand | ||
|---|---|---|
| ||
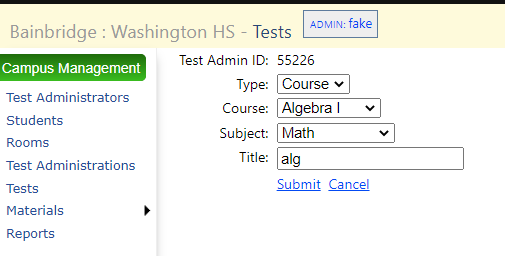
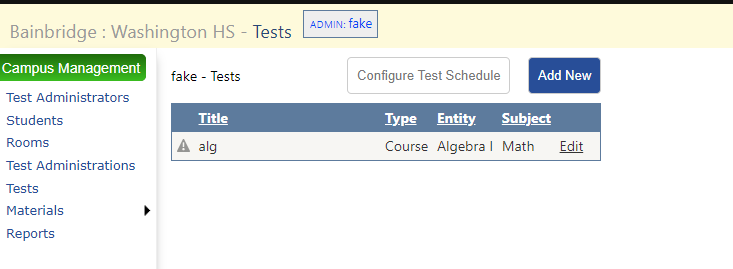
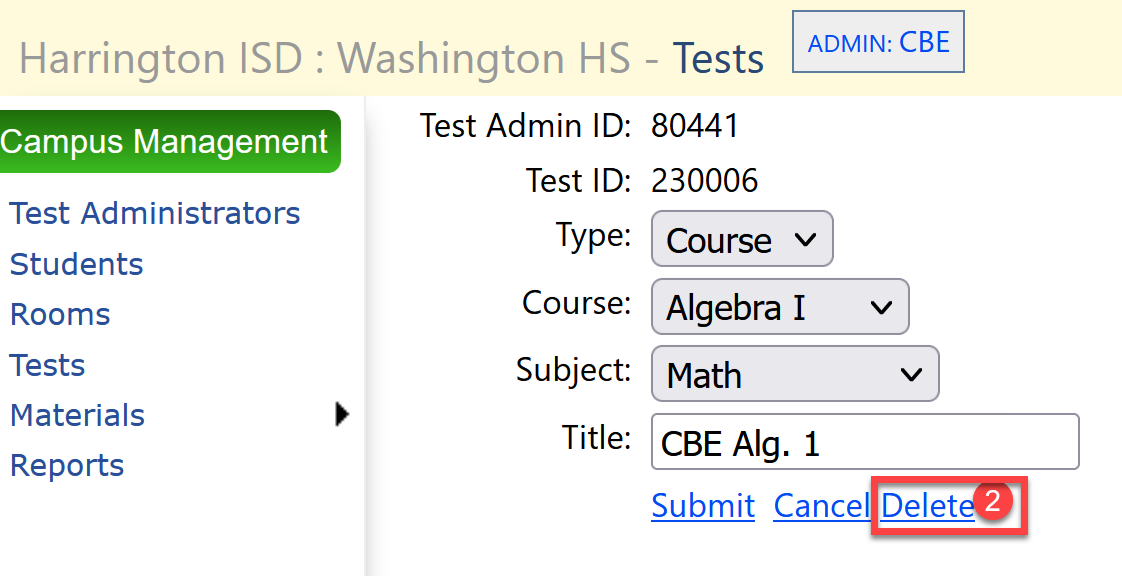
To create a new test within the test administration, click on the test administration you created from your Test Administrations menu. -Click Add New to begin the process -Enter the Type: (You have 2 choices- Course OR Grade: Choose the appropriate course or grade associated with your test ) TIP: Do not mix course and grade tests within an administration. -Subject -The subject selected will determine the subject area accommodations pulled -Title of test Once all fields are complete, click Submit. You can continue to build your administration by adding all applicable tests. Once you are ready to begin building the tests (configuring your schedule, adding students, etc), click Configure Test Schedule. You are now ready to build your tests. For more help configuring tests, please navigate to the left pane of the help tab to the Test Configuration section. Here you will find videos and step-by-step directions. |
| Expand | ||||
|---|---|---|---|---|
|
| |||
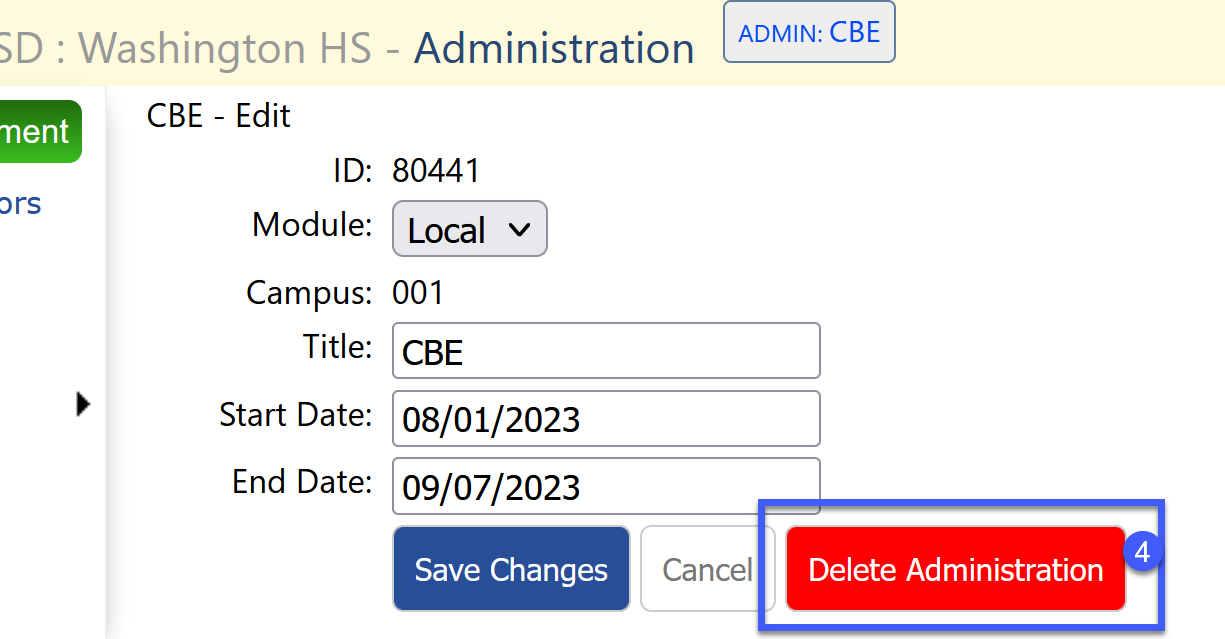
IF YOU HAVE ALREADY ADDED TESTS, KIDS, ETC. YOU WILL NEED TO WORK BACKWARDS TO DELETE THE TEST ADMINISTRATION OR IN ORDER TO EDIT THE DATES OF THE ADMIN. You will need to Delete the students and rooms information in the test using the reset button. Delete the tests from the schedule, delete the sessions, and hit SAVE. First navigate to the test administration and click the “Reset” button in each test to delete all information in all tests. After each test has been reset, now, you can remove the tests from the specific days in the testing window on the configure schedule page. Highlight each day on the schedule, uncheck the tests for that day, and click save. Once the schedule is clear, you must delete your time session(s). Click Edit Sessions. Click the trash can and hit save. Now navigate back to the test administration. Click edit. Select delete for each test(s) in the administration. After all test have been deleted, you can now delete the test administration itself and remove it from your test administration list. |

